
Getting started
Enroll for the developer program
To start development you need to enroll for the developer program first. This will enable your account to use Developer Mode. If you have not yet registered your account, you can do so with the following button:
Complete the enrollment process by following these key steps:
• Register with your work email - Use your organization email address to create an account (personal/free email domains are not accepted)
• Confirm your email within 10 minutes - Check your email for the activation link and click it promptly (the link expires quickly)
• First login to Developer Experience - After email confirmation, sign in to the Developer Experience platform
• Organization enrollment - Depending on whether you're the first user from your organization:
- First user: Complete the organization onboarding form and wait for approval
- Additional users: You'll be automatically added to your existing approved organization
• First login to Sandbox - Click "Go to Sandbox" to access the development environment for the first time (this activates your Sandbox account via single sign-on)
• Enable Developer Mode - In the Sandbox, navigate to My Account → Developer tab and turn on Developer Mode
Important notes:
- Email confirmation expires in 10 minutes - use "Resend email confirmation" if needed
- First-time organizations require approval before full access
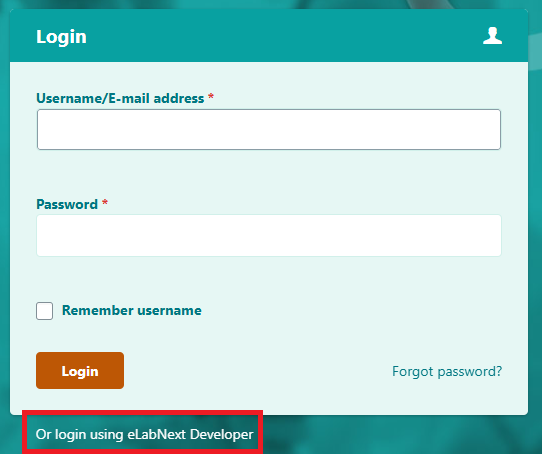
- You can access Sandbox either via Developer Experience using single sign-on, or by selecting login using eLabNext Developer at the bottom of the Sandbox login page.
Developer Mode
Once you are enrolled in the developer program and you have access to the development environment (Sandbox), you can start with add-on development.
Go to SandboxOpen the SDK development environment (Sandbox) and locate the SDK Developer Tools icon (</>) in the top-right of the navigation bar. Click it to enable Developer Mode and open the SDK Dev Tools overlay.

With Developer Mode on, your eLabNext environment is ready for add-on development. The next step is to set up a local development environment.
Set-up SDK Development Environment
You need to set-up your development environment to be able to host add-ons from you computer on a https web server to make them available in the SDK Development environment. To set-up in Windows, proceed as follows:
Node.js requirements
Node.js version >= 16 or above (which can be checked by running: node -v).
You can use nvm for managing multiple Node versions on a single machine installed. When installing Node.js, you are recommended to check all checkboxes related to dependencies.
Installation of NodeJS
To host add-ons from you computer on a https web server, we make use of the NodeJS web server. To get started with NodeJS:
- Download the latest stable version of node.js from https://nodejs.org/en/download/
- Double click the downloaded node-vx.xx-x64.msi or node-vx.xx-x86.msi file to install NodeJS.
- After NodeJS has been installed, confirm the installation of NodeJS as follows:
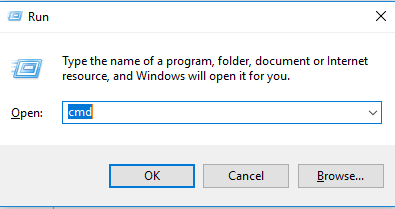
- Open the start menu and press win + r
- Enter cmd and hit enter or click ok
- In the command prompt enter node –v and hit enter
If the installation of NodeJS is successful, the installed NodeJS version will be returned in the console.
$ node -v
V16.18.1
Setting up the HTTPS web server on your local computer
Follow these steps to set up a local HTTPS development server for hosting your add-ons.
Step 1: Create your project folder
Create a folder on your local computer where you will store your add-on files. For example, create a folder called eLAB-SDK on your C:\ drive:
C:\eLAB-SDKStep 2: Install http-server
Install the http-server package globally by entering the following command in the command prompt:
npm install http-server -gStep 3: Install mkcert for trusted SSL certificates
Since all communication in eLabJournal runs via a secured connection (HTTPS), your local development server must use HTTPS with trusted certificates. We recommend using mkcert, which creates certificates that are automatically trusted by your browser.
Windows (using Chocolatey):
choco install mkcert -yWindows (using winget):
winget install FiloSottile.mkcertmacOS (using Homebrew):
brew install mkcertStep 4: Set up the Certificate Authority
Run this command once to install mkcert's local Certificate Authority into your system's trust store:
mkcert -installYou should see:
The local CA is now installed in the system trust store!Step 5: Generate certificates
Navigate to your SDK development folder and generate certificates:
cd C:\eLAB-SDK
mkcert -key-file key.pem -cert-file cert.pem localhost 127.0.0.1 ::1
This creates two files in your project folder:
- cert.pem - The certificate file
- key.pem - The private key file
These certificates are valid for 3 years and are trusted by Chrome, Edge, and other browsers that use the system certificate store.
Step 6: Create the server startup script
In your project folder, create a file called SDK-server.bat with the following content:
http-server -S -C "cert.pem" -K "key.pem" -o -p 8443Step 7: Start the server
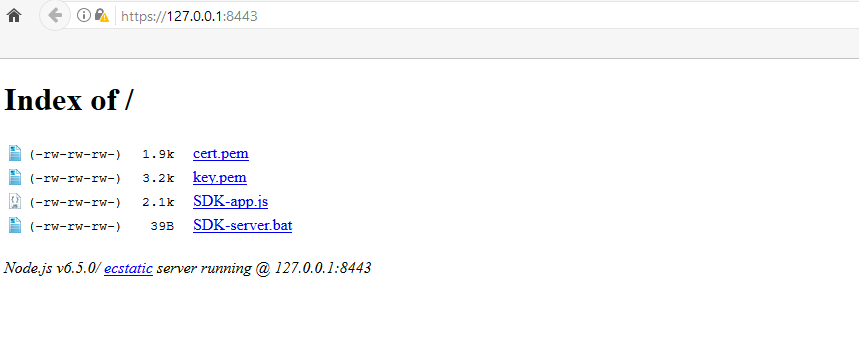
Double-click the SDK-server.bat file to start the server. The command prompt will open confirming that the HTTPS server is running:
$ http-server -S -C "cert.pem" -K "key.pem" -o -p 8443
Starting up http-server, serving ./
Available on:
  https://127.0.0.1:8443
Hit CTRL-C to stop the server
Your default browser will open displaying the content of your project folder.
To stop the server, close the command prompt window or press CTRL+C.
Chrome Local Network Access (Chrome 142+)
Starting with Chrome version 142 (October 2025), browsers require explicit permission for websites to access resources on your local network. This affects add-on side-loading from localhost.
If you see this error:
"Access to script at 'https://localhost:...' from origin 'https://sandbox.elabjournal.com' has been blocked by CORS policy: Permission was denied for this request to access the 'unknown' address space."
Enable Local Network Access:
- Navigate to the eLabJournal environment (e.g.,
https://sandbox.elabjournal.com) - Click the padlock icon (or tune icon) in the browser's address bar
- Find "Local network access" and toggle it ON
- Refresh the page
This permission only needs to be enabled once per site and is remembered by Chrome.
Alternative: You can also manage this setting at chrome://settings/content/localNetworkAccess
Next steps
Now you are all set to develop your own add-ons and extend the functionality of eLAB. Find the available classes and modules in the SDK documentation. The eLabJournal API is available here. The next step will show you how to load an add-on into eLab using an example add-on.
Updated 3 months ago