OAuth setup
Setting the OAuth configuration for your eLabNext integration.
Use OAuth with your integration
Using OAuth to integrate your application allows users to securely access and interact with it directly from within eLabNext. This integration method ensures that user authentication and authorization are handled seamlessly, providing a smooth and intuitive experience with the new feature(s) that your integration provides.
OAuth settings
External application settings
On the side of your external application, two actions need to be taken to set up the OAuth integration process. These are:
- Registering the eLabNext integration plugin
- Setting the redirect URL:
https://www.elabjournal.com/api/v1/oauth2/redirect
When you have registered your integration plugin, you will receive a client ID and a client secret. These credentials are essential for setting up the OAuth authentication and will be used as settings on the eLabNext side.
Settings on eLabNext side for your OAuth configuration
Under development
With the development of our Developer Platform, we are moving towards allowing you to have all the necessary control over your add-on, but at the moment you are only able to enable OAuth configuration for your add-on but not set the configuration.

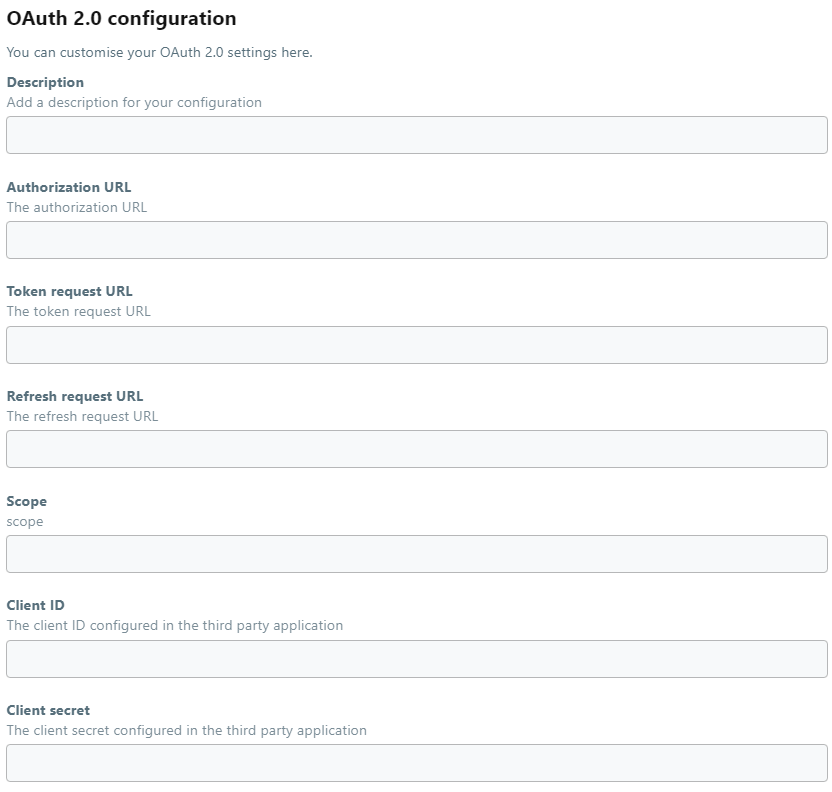
Until development has been completed to allow you to do this yourself, the add-on needs to be published to the Sandbox environment first and a system admin from eLabNext can then be contacted to set your OAuth configuration. The link for this contact can be found in the Developer Platform under the OAuth section, as shown in the image above. The information required for the configuration is shown in the overview below.

The client ID and a client secret are retrieved after plugin registration on the external application side. The needed URLs can be retrieved from the external applications API documentation. The scope that will be set will have to be determined based on what rights you want the users of the integration to have.
Developing your OAuth integration add-on
With your OAuth configuration in place for your add-on, it can now be used to do the authorization process for users. The below example recipe shows how you can fetch the OAuth settings for your add-on, and how the access token that is generated for a user during authentication is then stored. With this you can then create the functionality for your integration.
Updated 1 day ago